Wednesday, 19 March 2014

The wash up


On the weekend Kyneton was host to our inaugural Lost Trades Fair in the grounds of the Kyneton Museum.

 We had hoped that it would be a success….. 7000 people attended.

We had hoped that it would be good for the town and traders…… Several cafes and restaurants in Piper Street closed early after selling out of product…. On both days. Several businesses in Piper Street had their best day of trading…ever.

We had hoped that the demonstrators would benefit…. most had not experienced a Fair or event like it. The Macedon Ranges Shire Council has called it the biggest event in Kyneton's memory.

We hoped that people attending would enjoy themselves and that what they saw would resonate with them….. we are still wading through literally hundreds of emails thanking us and the demonstrators.

We had hoped that it would draw attention from people who would not usually pay attention to such things…… . Funnily enough, it did and it was good to see them at our Fair.


We got what we hoped for and we're glad that those who attended did too. Thanks for your support and for supporting the demonstrators who made the Lost Trades Fair 2014 what is was. Great.

Thank you.


Wednesday, 12 March 2014

Wow...

On Saturday and Sunday, as I've mentioned previously, Kyneton will host the first Lost Trades Fair. I was planning on posting a little more about it prior to now, but to be honest the organising/facilitating part has kept me away from the blog and very busy.

I just wanted to say a big thank you, prior to the event for all the support shown to us in the lead up to the event. It's been amazing. The Weekly Times, The Leader Newspapers, The Midland Express, Country Style Magazine, Green Magazine, The Guardian, The Herald Sun, ABC National Radio, ABC Radio Country Hour, ABC local - Australia All Over with Macca, Kyneton Connect and too many blogs and websites for me to mention. 

                                              Early this morning at Kyneton's Museum

Then just to cap it off this morning, Edwina Bartholomew, Ben and the whole film crew from Channel 7's Sunrise show, broadcast 6 separate live segments from Kyneton this morning, nationally, all focusing on our Lost Trades Fair this weekend. Wow.

Suffice to say our phone and email system has not stopped since. It gives us hope that we are on the right track with this. That people are interested in these important trades, that they care enough to not let them fade into obscurity.  

So please get in your car, pump up the tyres on your bike, hop on a train, or even a plane and head to Kyneton this weekend and see, hear and experience real people making real things with their hands. It may just put a big smile on your face and inspire you. Hope to see you there….. cheers!


Sunday, 23 February 2014

Hard Yards

Far and away the best prize that life has to offer is the chance to work hard at work worth doing.
Theodore Roosevelt


This week we ran another Continuous Arm Chair course. Isobel, Fletcher, James, Jane, Peter and Stephen all spent 7 days turning rough English Ash, Sugar Pine and Maple into finely crafted Windsor chairs. I'm fairly sure they were all rightly proud of what they achieved…... and they should be. 


Make no mistake, it is hard work but it's certainly worth doing. Well done to you all.

Saturday, 22 February 2014

A natural choice

As a plumber, I make a good wood worker, as someone who grew up on a farm, I make a pretty good chair. I can work with sheet metal, weld and even tinker with a motor or two. What I'm saying is I know a little bit about a fair bit of stuff, but I'm no authority on any particular subject.

So when it comes to restoring our old farm house in Tylden, I'm certainly no expert, but I believe I have a fair grasp on the direction we should be heading in sympathetically repairing the house to a point where it will reasonably last another hundred years and not look like it's been regurgitated from an Ikea catalogue.

As you may have seen last year, we have renovated the rear of the house, namely the kitchen and laundry rooms, repairing the damage left by 40 odd years of neglect and a tsunami of termites. With that structural work complete, we had to decide on the cladding for the walls. Simple, eh? There were weatherboards on it before, so just replace them with weatherboards.

Well it's not as simple as that . Yes, the main house still has the original hardwood rough sawn boards, as do some of the internal walls too. But trying to source hardwood square edged boards today proved to be near enough to impossible. It seemed every hardware store or chain I contacted either didn't not stock such a thing, or worse had not heard of such a product. Even sawmills in the area don't cut them.

It seemed that all that was available was pre-primed pink coloured Baltic Pine weatherboards, Western Red Cedar weatherboards or worse still fibre cement look alike boards. It seemed 'hard-wood' must have been too much like 'hard- work.'


Here is a snap of the original internal weatherboards that were uncovered when we removed a termite damaged original cupboard in the kitchen. The same aged boards cover the entire main house. They are as strong as the day they were nailed on. I certainly did not want flimsy baltic on the walls, nor cedar. It just was not the right choice. But I did want it to be clear to people who saw the house in it's restored state, what had been restored and what was original. To have a defined difference between the old and the new or repaired. Not pastiche.

So after a bit of um-ing and ah-ing I decided I'd look into natural or wany edged boards. I'd always liked the look of those sorts of weatherboards, having first seen them as a kid when Dad took me to Bendoc in East Gippsland to visit an old sawmiller he knew there. Jack Mustard was one of the last old time millers in the area and the side of his house was clad in these rough sawn Mountain Ash boards. The natural edge of which formed a wavy but interesting pattern and looked sort of like they had grown out of the wall.

With a bit of persistence  I found a mill in Gippsland that was radially sawing natural edged boards and we secured four logs pre-sawn and ready for delivery. A few days later the logs arrived all pre-sawn and really to be opened up with the chainsaw.  


As you can see from this photo, when the end is cut off the log, you are left with a log full of perfectly quarter sawn hardwood boards. They are then snapped off a centre core, formed in the milling process. This waste core or heart wood, is about 70mm round and with the exception of the pieces cut from the end of the logs, is the only waste product in the process.

              
Here's the waste core from the log above. And below is an example of the actual weatherboard material  formed by the process. As you can see, with the method used to radially saw the logs every single board has to be quarter sawn, which means minimal shrinkage and visually no cupping or warping of the boards, which is prevalent in Pine boards, as the they are flat or rift sawn.


And here is the comparison section of new boards. Similar look, but easily identifiable as new by virtue of the their wany edge.


We haven't been out there this week as we are waiting for the new windows to arrive before we can continue to fit the weather boards.


That and the fact that Bern and I are running a 6 person Continuous Arm Chair course too. It's day 7 tomorrow and judging by the quality of the chairs the guys have produced so far, it promises to come to a great conclusion tomorrow afternoon.            

Wednesday, 19 February 2014

GOLD!

A few weeks back, Uncle Stan, Dad's older brother had been in touch and suggested that he come up to Tylden to cast his metal detectors over the house site and surrounds to see what he might find. Sounded like a great idea to me and so we arranged to head out tot he house a few days later.

                                                                    Part of Stan's kit.

On the day, Stan arrived with his detecting kit and ran me through the basics before he let me loose. I'll be honest, I have never given metal detectors much thought before and had no idea just how accurate and sensitive these things were.

They can not only tell you whether what's in the ground is most likely rubbish or valuable but they also sound a differing tone for more precious metals and a whole host of other indicators to put you in touch with what lies beneath.

So after about 40mins of scratching around a large pile of dirt that had been excavated from around the house, I decided that I'd have a look around the footings on the North side of the house. Within 30 seconds the machine starting beeping furiously. Not the dull tones associated with scrap steel or rubbish but a higher pitched beep. A scratch with a small mattock and a single coin rolled out of the dirt.


Last year I found an 1876 One Penny piece about 2 metres away inside the building and my first thoughts were that it was another penny. But when I picked it up, it was nothing that I recognised. Got to love Google. So when I entered '1 Sen piece' into the search engine, I quickly found out that I had an 1873 Japanese coin in my hand.


Yes, I know it's not gold, but it was a pretty damn good find in my books. Question is how did it get there? I knew that there was a large Chinese population in Victoria during the gold rush, but I've not heard much about Japanese being in the area at that time. Question is, was it dropped there over a hundred years ago or was it more likely that it was a WWII souvenir, bought back by a returned serviceman? I guess I'll never know.


Amongst the other 'stuff' we turned up that morning before the heat beat us, the oil cover off a stationary engine, the tire valve cover off a vintage car, a toy tractor, three old axe heads that had been used as wedges and a couple of horse shoes. No Welcome Stranger nuggets, but the Japanese coin was gold to me. Thanks Stan.

Sunday, 16 February 2014

Rush

You may remember Carol and Larry who came to the workshop to make a couple of perches last year. Carol had worked for some time with Dickie Blackman, well regarded as the best English cottage furniture maker in Australia at one time. As I made mention of at the time, Dickie's chairs were more often than not seated with natural woven rush, also commonly known as Kabungi ( or Cumbungi depending on who you ask! ).

When woven well, rush seating makes for a strong, comfortable and good looking seat on a chair, but as with so many traditional trades, crafts and skills these days, few people remain who are able to effectively work with this raw product. Fortunately Carol is one of those few, as she was taught by Dickie whilst working with him.

Last year Carol, Larry and I agreed that come summer we would find a suitable dam full of the stuff and cut a pile of it for weaving rush seats. So about a month ago, Carol let me know that she had found a suitable dam full of rush just out of Ravenswood, near Bendigo. A day was arranged and the 3 of us headed out with sickles in hand and cut enough to fill the tray of my ute and Carol and Larry's trailer.

                                                                     Freshly cut Kabungi

Not just a case of wading in and cutting what ever is in front of you, Carol was very specific about the width and thickness of the rush and selected rush that was both suitable for large and small chairs. Bull rush ( with the flower head in tact ) was rejected as unsuitable due to it's size and thickness.

                              Here's Carol laying it out in the yard to dry in the hot summer sun.

Laid out properly and turned everyday the rush dried enough over 3 days to be bundled up and stood inside ready for use.

                                                                            Dried
                                        Bundled up and in the workshop kitchen ready for use

The best part about the whole process? Carol will be one of over 25 tradespeople, artisans and crafters who will showcasing their skills at the Lost Trades Fair here in Kyneton on the 15th and 16th of March. So if you would like to watch how a traditional rush seat is woven, come along on that weekend and see Carol practising this skill along side a …...Cooper, Blacksmith, Shoemaker, Gunsmith, Locksmith, Stone Mason, Dry Stone Waller, Whip maker, Weavers and Spinners, Saddler, Tool Maker, Knife Maker, Chair maker ( yes that's me ), Potter, French Polisher, Fletcher, Hedge Layer, Letterpress typographer, Coach Builder, Harp Maker and Guitar and Ukelele Maker,  plus a few more to boot.

It promises to be a great weekend and we believe the start of something very special for the region and for the future of these trades.

Tuesday, 4 February 2014

The next seating position

When I first saw the 3 legged Perch stool on Pete Galbert's blog a number of years ago I was impressed. Not just by the simple lines and design of the stool but that there were still people actively taking the Windsor form into the 21st century.

                                         One of three I'm making on commission at the moment.
                                                    Belgian Oak with blue milk paint.

A collaboration between Curtis Buchanan, Pete Galbert and Dr. Galen Cranz, the Perch reflects Cranz's viewpoint that in general the western tradition of sitting in right angled chairs is harmful to our physical health.

Cranz's  well respected book on the subject, The Chair: Rethinking Culture, Body and Design, urges us not to sit still in the same position for a long period of time, with our spine slumped in a 'C' position, our pelvis crushed and our necks thrust forward.

                                       Number two, Spalted Black Heart Sassafras and Blackwood

In essence the Perch was designed to do exactly as it's name suggests, to perch upon with our knees lower than our pelvis, at about a 100 degree angle and our feet flat on the floor. She also mentions that rotating through several seating positions an hour during the day is a good way of minimising potential back issues arising from sitting still too long.

Just before Xmas I managed to aggravate an old back injury which put me out of action for over a week. While visiting a physiotherapist in Woodend I asked him his opinion on the best seating position for me whilst I recovered. He responded immediately, "The next one." Should have seen that coming...

                                                     Number three, Elm and Blackwood

I've made more Perches now than I can remember and taught dozens of others how to make them also. In fact we just finished a Perch course this afternoon with Helen and Fiona.

                                        Nice work girls, despite being a little camera shy……..

Generally speaking the average person will 'fit' a Perch well, with little adjustment to the length of the legs, unless they are exceptionally tall or short. So I have not had cause alter much with the Perch or to fix something that isn't broke as it were.

But last year a local graphic designer asked me about adapting a stool to suit his particular work platform. Richard liked the idea of the seating position of the perch but worked at desk which was set at the correct working height when he was standing. The brief: to provide a perch like seating position at a height which kept his line of sight identical to when he was standing. Also to utilise a 4 legged stool instead of 3. This would allow Richard to alternate between standing and being seated without having to adjust his workspace to suit.

In between other commissions and running numerous classes I've being playing around with the design and this week finally arrived at something that fits the bill. It took changing both the rake and splay of the legs and changing all the sight lines too but I feel that I've finally got it right. A tall four legged stool with the same raked seat angle as the perch, a foot rest at the correct height which keeps the knees bent at the right angle and the spine elongated and not crunched over.

                                  It certainly towers over the Perch from which it get's inspiration.

A quick trip down to Richard's with the prototype confirmed the results. Comfort, correct seating position and his line of sight was unchanged from standing to a seated position.

The prototype may not be the prettiest chair on the block and I'm sure I won't necessarily be making them in any great number, but it's been an interesting challenge which has me thinking about the chairs I make and the way we sit on them.

Tuesday, 21 January 2014

First cab off the rank

Just before our week long heat wave fully hit it's straps last week, our first class for the year wound up, again with two very happy new chair makers.


Wendy and Bev, sisters who grew up in Victoria's Western District, came to the workshop to make a Continuous Arm Chair each. And did they ever. Two very fine chairs indeed and in record time. The class is formatted as a seven day class to allow for any contingencies or issues that may arise. 

Well suffice to say Wendy and Bev worked so efficiently that they glued up their chairs around 5pm on the 6th day. Considering the 7th day was 40+ degrees it was great to be in a position where all that was required was to put some finishing touches to the chairs. We even had a chance to talk in greater depth about Milk Paint finishes and other detail. Thank you for a great week ladies. 


While I'm on the topic of classes, Lisa and I are very pleased to announce that for the second time we will be bringing Peter Galbert out to Australia to teach another 3 classes in December this year.

 I'll go into further detail in the coming weeks, but suffice to say, if you were ever considering making your first windsor chair or re-visiting the process for a second time, don't miss this opportunity. Outside of packing your bags and taking 20 hours of flights to Massachusetts, this is the only way to experience chair making at it's very best. Stay tuned!

New Year…. Old Search

As the 3rd week of 2014 comes to an end I'm just starting to get back into the swing of things and put my head down ready for what promises to a busy year. As I write Lisa tells me that we are booked out for about 85% of all classes we have advertised thus far. Makes us think that we are doing something right….

But with booking chair classes comes the ever present search for suitable green timber to enable the classes to run. Not much of an issue if you're living on the East coast of the States, where species such as Red Oak grow large and 'straight' in abundance. The latter also being a fundamental necessity for good chair parts. As a furniture maker I look for the most figured timber I can find, wild grain, burls, crotch, spalting, etc. As a chair maker I look for the parallel opposite, I want dead straight grain, with not the slightest defect, knot, branch or bark inclusion and certainly nothing resembling crotch!

But as anyone who has taken a chair making class with me will know, not too many Australian native species lend themselves anywhere near as well for the windsor chair making process as say the U.S. Oaks. Or if they do, most of the straight examples are deep in our state forests or national parks….. i.e: unavailable.

Most natives growing in open or private land act as trees do in those conditions. They do not have to reach for the canopy of the surrounding forest for sunlight and as a result, bifurcate or branch out in all directions. They're most often also affected by wind and or growing on uneven ground and therefor have an off centre heart or a lot of internal tension.

However, here in Kyneton we are very fortunate that a hundred or so years ago, a lot of the settlers in the area, in fact the whole Goldfields region, planted deciduous species that reminded them of home.

The Kyneton Botanical Gardens is a great example of this. At the end of the gardens, down towards the bend in the Campaspe River, is an area known as the 'Fairy Ring.'


 For the longest time, a Californian Redwood has leaned precariously over the area, threatening to fall over. Alas it was eventually decided that the risk of the tree falling was too great and it had to come down. Above is the tree stripped of all its branches and foliage.

This thing was large, not half as big as some others in the gardens, but large all the same. Thankfully I received the call that the tree was coming down and it was offered to us. As grateful as I was for the opportunity to have such a precious log, it was something else that was earmarked to come down at the same time that really grabbed my attention.

Pin Oak. Quercus Palustris. A member of the Red Oak family and this one was growing under the canopy of a very large English Oak, so it was long and straight. It's just out of camera shot in the above photo, but you can see how dark it is under the English Oak.


On the day a crane was bought in to ensure the safety of the workers involved and to limit damage to surrounding trees. Yes that's the arborist two thirds the way up, on the chainsaw.


And then taking the last of it down on the ground. No, it's not hung up on anything, it's actually falling at this point….. You can see some of the Pin oak log already on the ground in the background.


We collected 7 logs that afternoon from the gardens. Logs that would otherwise have been broken down for firewood or mulched. Above is the second section of log from the trunk. As you can see, they're a lot bigger when they're on the ground! And there next to the Redwood is the Pin Oak for our February Continuous Arm Chair class. Straight and with a central heart. Just the ticket.

Tuesday, 24 December 2013

Contentedness

As 2013 fades into the distance I hope you all had a great year and would like to thank everyone  who has followed this blog over the past 12 months or longer. 2013 has been a busy year for Lisa and myself,  one full of new experiences, in business and our private life and of late in finally finding ourselves a place we can truly call home.

 In the white
3 Coats of milk paint prior to oil.

This morning as I put the last coat of Danish Oil on a Continuous Arm Chair ( a Christmas present for author John Marsden ) I thought about how that chair reflected the past year in a number of ways. Like most chairs I make, I'm almost always more pleased with my latest effort. This chair was no exception.

I think it's an accurate gauge of my understanding of my craft and my desire for continuous improvement. This time around I tried new techniques, I altered the design a little and experimented with the finish too. It resulted in a chair that came together easily, was very symmetrical and had good form.

Similarly with our business, I'm pretty happy with the way this last year has gone. It's been a bloody long and hard one, but still….. We've officially crossed the line of 12 months in business, we've supported lots of local makers by providing an outlet or gallery for their work, we've run dozens of courses with happy and satisfied customers, we've opened the door to our accommodation house, '1774', we've run our wine bar, 'The Chairmakers Wife' every weekend, bar two, without incident and at the same time Tom has finished his first year of school. I think we stayed relatively sane throughout the whole year too!

But most of all, just like the last chair, I'm content with 2013 and think it has been one of 'our' best yet. Just like the chairs though I'm looking forward to the next one being even better. I hope yours is too. Merry Christmas and if I don't post in the mean time….. Happy New Year.


Wednesday, 18 December 2013

Snapshot

Snapshot. I think I gave the term a new meaning the other day as I readied the chair on the left for this photo taken by Ian Hill of the pair of Crested Rockers. That's exactly the feeling in my back as I lifted the chair stupidly whilst on my knees with my arms straight out in front of me, fully extended!

Anyhoo, as painful and annoying as it's been. It was worth it for the brilliant photo that Ian took. Thanks again Mr. Hill.

Saturday, 14 December 2013

Goings on...

As I lay flat in bed with a bad back ( lifting chairs the wrong way believe it or not! ) I thought it a good opportunity to get in an update on a few goings on around the traps here…

On the house front…..


After a day or so on the end of the crow bar and shovel we cleaned out the excess dirt and detritus between the rock footings. This allowed new holes to be dug for the galvanised stirrups for some new bearers. Lets see you eat galvanised iron Mr. Termite. Here they are suspended in the holes ready for concreting.


The rock footings in some sections of the laundry and kitchen was so low to the ground that putting a new bottom plate straight on to it was asking for trouble, both from a termite and dampness perspective.  So instead we boxed up on top of it and poured a concrete footing, complete with some serious half inch thick reinforcing bar.


The result was great and has given us a solid and virtually indestructible footing into which we can fix the bottom plate comprehensively. Trying to do the same on the sub standard old stone footing would have been near on impossible. The blue stuff is termite mat. It is impregnated with a 'termicide' which apparently has a 50 year life. As you're probably getting the gist now, it's all about keeping those little white menaces at bay!

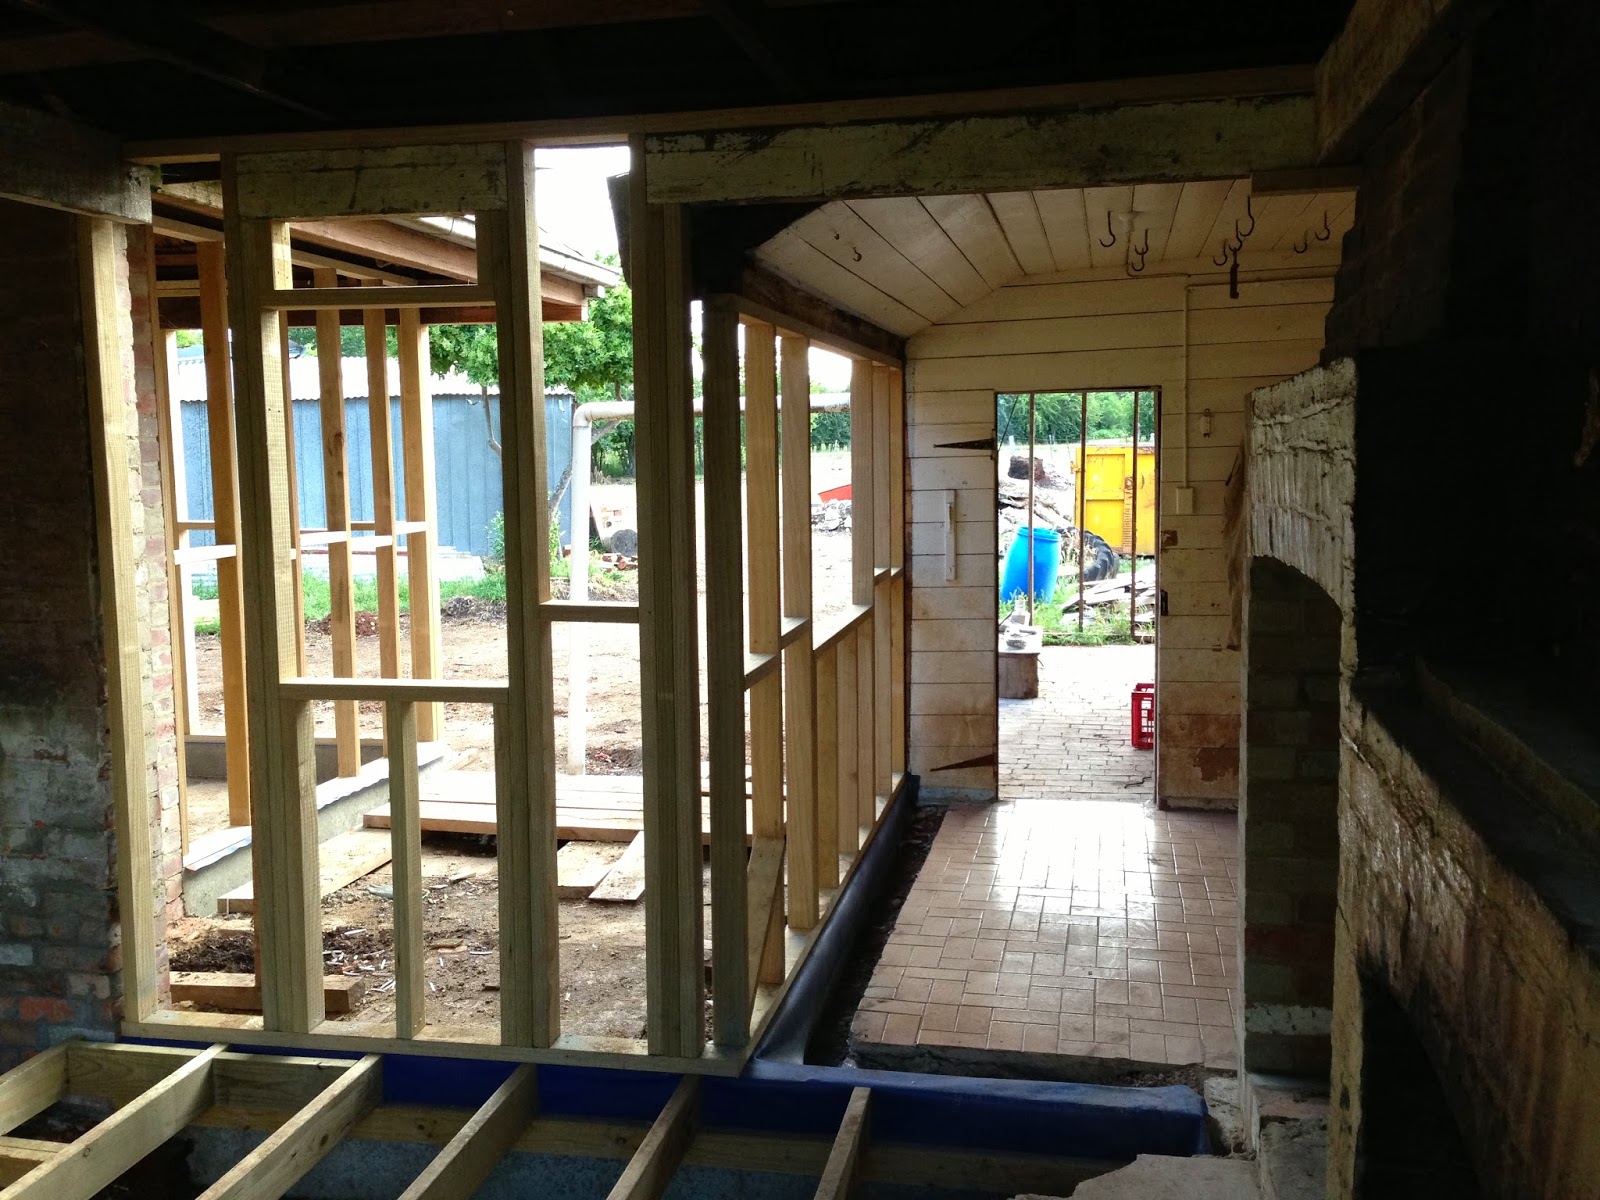
With the concrete footings poured and the stone footings repaired we were then able to started building (  hooray! ). Again the thought of any further attack on the house structure pretty much forced my hand when it came to choosing the material for the frame. The only real guaranteed option for termite proof material is H3 pressure treated timber and so that is what we have chosen. It will all be completely clad both inside and out and so will never be seen.


Rather than using 90 x 35 material which seems to be the norm on most 'new builds,' I went with 90 x 45 on all the studs and noggins and 140 x 45 for the new floor joists and sub frame. It makes for a good solid frame and is also closer to the old 2" thick stud size that was there originally.

When it came to windows, although it would have been nice to have large expanses of glass, it's not in keeping with a house of this age and we had to factor in heat loss in the cold winters here. So we went with smaller openings and placed them symmetrically in the walls. I think it looks a treat.

The ceiling in the old kitchen I estimate was only put in sometime around the 1940's - 50's and was not a particularly good job either. The hanging beams ( which support ceiling joists ) were vastly undersized and attached to the old joists with a combination of old fencing wire, bits of kerosene tin and whatever else they found lying about.


So to make a good job of it, we fitted some decent Douglas Fir ( Oregon to us Aussies, but I've found that we are the only people in the world who call it that… ) beams across the room to pick up the new hanging beams and provide some support for the new ceiling joists.


I love looking at this aspect now. This is where the horrid aluminium sliding door was, but the old stone footings gave some insight that it had alway been filled in as a sort of room, so it's now re-framed as it should be.

On the Chair making front….


The matched pair of Crested Rockers are finally finished and ready for delivery. It's always an interesting time when I deliver a chair I've made. I guess when you put so much work into an object it can be hard to part with. I'm sure they will be appreciated just as much though by their new owners Lishia and Simon. ( Lifting one of the chairs while they were being shot by Ian Hill the photographer yesterday is how I put my back out. No, they're not that heavy, I just lifted the wrong way… )

On the Shop front…..


I'm really proud to announce that we are now official retailers of Gransfor Bruks Axes, adzes, froes and other tools. I'd always envisaged selling their stuff and now to have that as a reality is very exciting. They are already finding their way into a few locals Xmas stockings!
Could there be a better stocking filler?? "Oh darling a Gransfors Axe!" "Just what I've always wanted! Swedish blacksmithing excellence attached to custom Hickory handled perfection….."


I'm also excited to announce that from mid January the shop will be stocking a range of Terry Gordon's HNT Gordon hand planes and spoke shaves and Colen Clenton's marking out tools. I've mentioned them a few times before, but if you haven't seen them before then do yourself a favour and go to their site http://www.hntgordon.com.au and have a good look around. Both guys make products that are the best of their kind. Full stop.


Another Saturday night….

Thank you Mr McLeod and thanks to Rob too for organising it. Another great night at 
The Chairmakers Wife! 

Wednesday, 4 December 2013

Blurred lines

After day five, the days spent at Tylden on the old house have sort of blurred in to one. I'm not saying that in a bad way, more so that there's plenty to do and so much happening at once.

While Pete and I have concentrated on 'taking out the termites' and all things wooden they have gnawed, some attention to other building materials has been required. Namely bricks and stone.

About 6 months ago I was marvelling at how Greg Pennington was building his new tool shed with stone foundations and at the same time wondering if the same building technique was prevalent in Australia at some point. Short answer, Tylden certainly was built that way.

The main issues I feel that have contributed to the demise of the house over the past 50 or so years has been the constant building up of soil and concrete around the perimeter of the house. Termites like damp and moist areas and nothing makes an area damp like stopping air flow. In fact the concrete and soil were so high up the walls it was impossible to see just what the building was sitting on, until we excavated a little.

After removing all the built up top soil and concrete we are now nearly 250mm lower than the top of the concrete at the back door as seen here.

Only then could we see that the stone foundations, set with lime mortar, had been well laid and indeed rendered with lime mortar as a finished surface. Just like a good dry stone wall, they had considerable large flagstones at the base and smaller well fitted pieces as the height rose. Most of the outside perimeter stone walls were all in very good order, still sound after a good 150 years. Which says something for lime mortar….and good workmanship too.

But unfortunately a short run of stone wall on the Northern side of the kitchen which led to the original house, had succumbed to years of non-existent drainage from the roofs spouting ( gutter ) above it. Add to this the huge invasive tree roots of the Banksia tree a few metres away and it was not surprising it had crumbled.

The corner in question behind the Banksia tree.

A friend in town recommended a good bricklayer and after a quick phone call, Ken and his son Travis came out to have a look at both the foundations and other actual brick work that needed attention. I've been told more than once since,  we were extremely lucky to get them at short notice. It seemed they had a few days spare between jobs.

After a look around, we arranged to collect some bricks and Ken and Travis came back on the Monday and started. Travis rebuilt the stone foundation on the North wall and Ken started to rebuild the central brick structure that held up the old iron water tank and internal kitchen wall.

In all three whole days were spent working on the tank stand wall, kitchen foundations and two kitchen chimneys. The results speak for themselves.

 Newly mortared kitchen foundations…. including an original cast vent from else where in the building

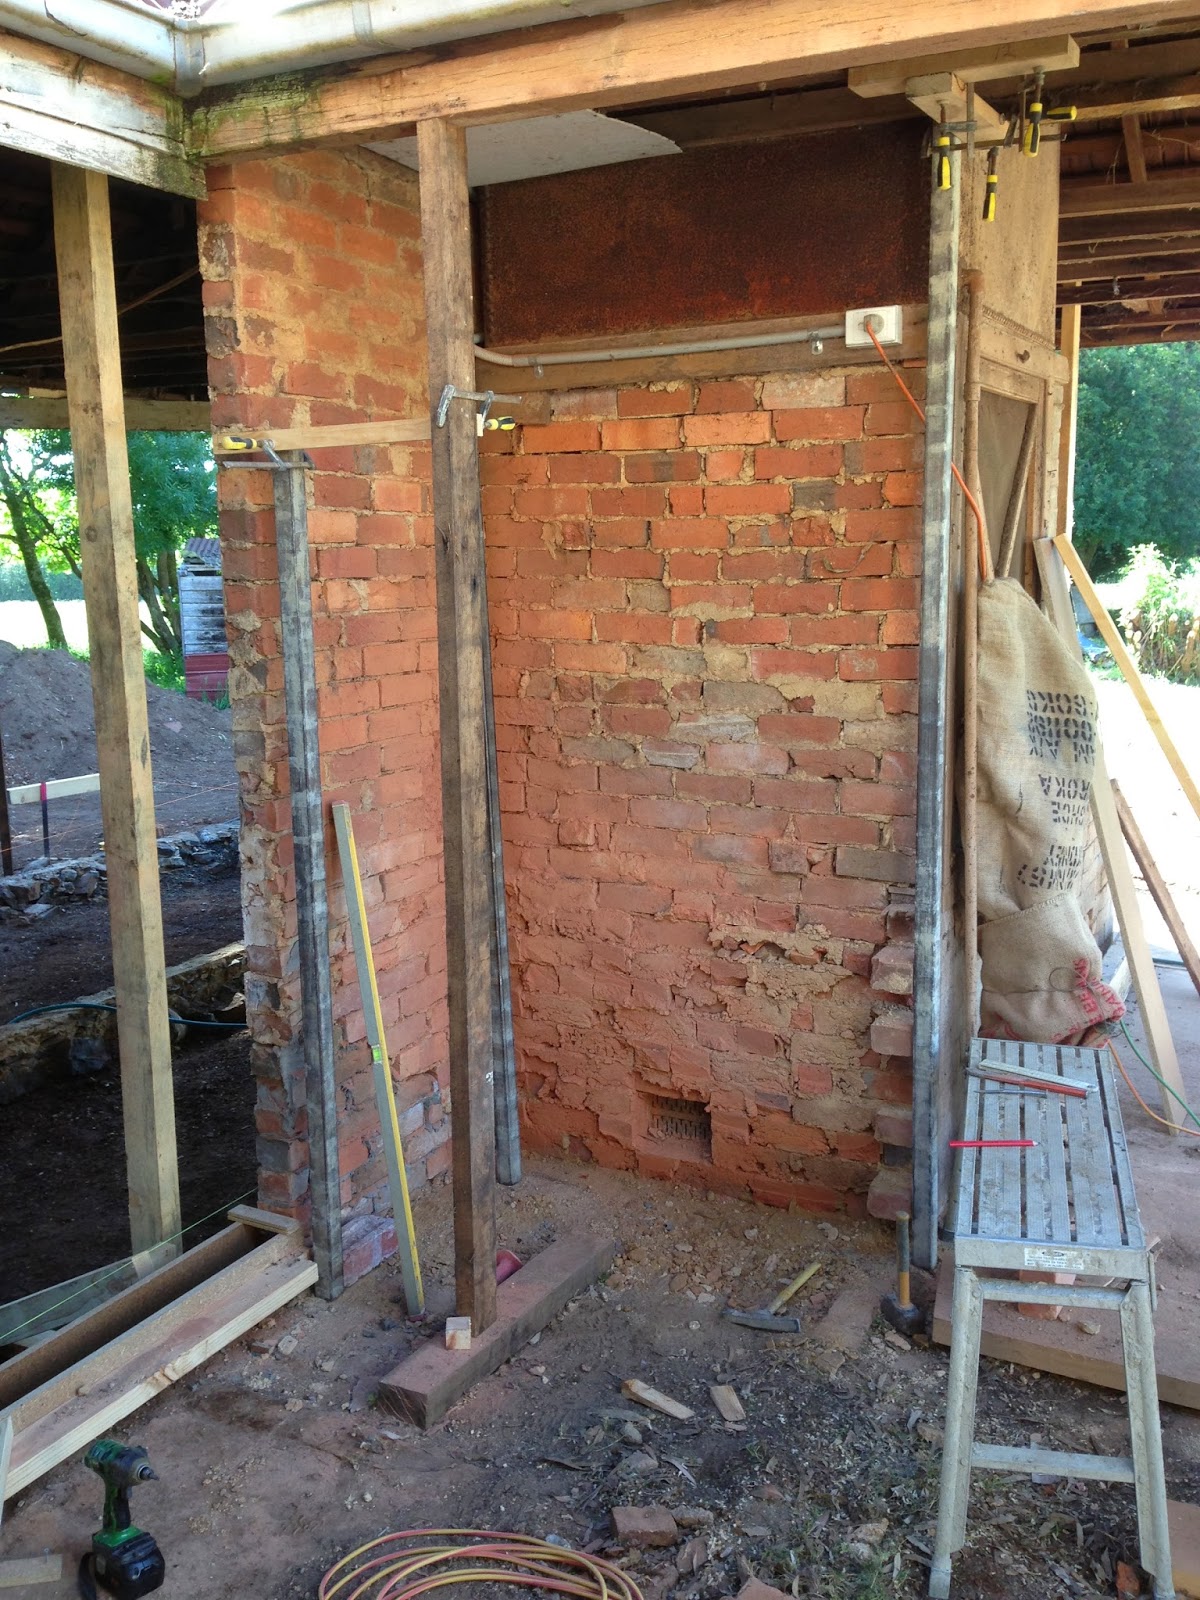
The left fireplace which would have housed a combustion stove at one point. It only had one skin of bricks precariously holding up the entire chimney and laid on remnants of floorboards and floor joists!

The same skin removed and whole chimney propped up on the lintel, inside! At one point we though the whole lot might collapse…..

Travis putting the finishing touches to the new double skin chimney wall.

 The old and worn out base of the second chimney.
The same chimney re finished. The fire place crane or 'swingle' even came loose after being seized.

 Tank stand stripped down …..
And beautifully rebuilt.
When taking away an old section of concrete on the right side of the second chimney and a pile of rocks and rubble it was poured on, I found one of the original grates providing air flow into the main house. To think it's been covered for well one 100 years. Gives me hope that there will be more to uncover as we clear the concrete and detritus from around the rest of the house. Fingers crossed.