Essentially, instead of using a protractor or bevel gauge and angle finder to measure an angle at the intersection of two lines, rise and run is the process of measuring the rise or height of a line over a measured distance. Just the same as a staircase.
But instead of calculating the height of the riser ( rise ) and the width of the tread ( run ) in the case of a set of stairs, the run is the distance between the two rungs, in vertical height and the rise is the difference in length between the two rungs - divided by two. It sounds a little confusing but is really quite simple.
Rise and run works well in relation to making a ladder back chair in the manner that Jeff and Brian make it. That is with predetermined stretcher lengths and spacings as opposed to stretchers that are measured after legs have been fitted to a seat, such as a Windsor.
It's also a technique that Jeff has developed to be used in conjunction with a drill press, ensuring very accurate drilling. All in all I guess what I'm trying to say is, it works well, it's supremely accurate and it worked without issue on Tony and my chairs. I'm also trying to explain all of this in a manner in which I don't jump the gun on Jeff's own blog posts on the subject here - http://www.brianboggschairmakers.com/category/chairmakers_journal/
It won't be long until Jeff is posting about the above subject, with some great diagrams to assist. As with the other posts in Jeff's series on the ladder back chair, the post will explain the process in depth.
Here are my front legs and back legs after drilling. Crisp accurate mortises.
Top of Tony's back leg
After the mortises in all legs were drilled it was time to shape the tops of the front and back legs. This is largely a personal touch and Tony and I spent a bit of time playing around with some different shapes before finally shaping the tops of our respective legs.
Legs shaped, it was time to glue up. Well for Tony at least. My chair would have to wait, as it had to be packed into a cardboard box to get it home. Hide glue was used, Old Brown Glue to be precise. Jeff has also created a sliding carriage clamping jig to clamp all the parts together. Given the tolerance of the mortise and tenon joinery, the clamping jig ensured a controlled fitting of the two stretchers simultaneously making up the front panel of the chair.
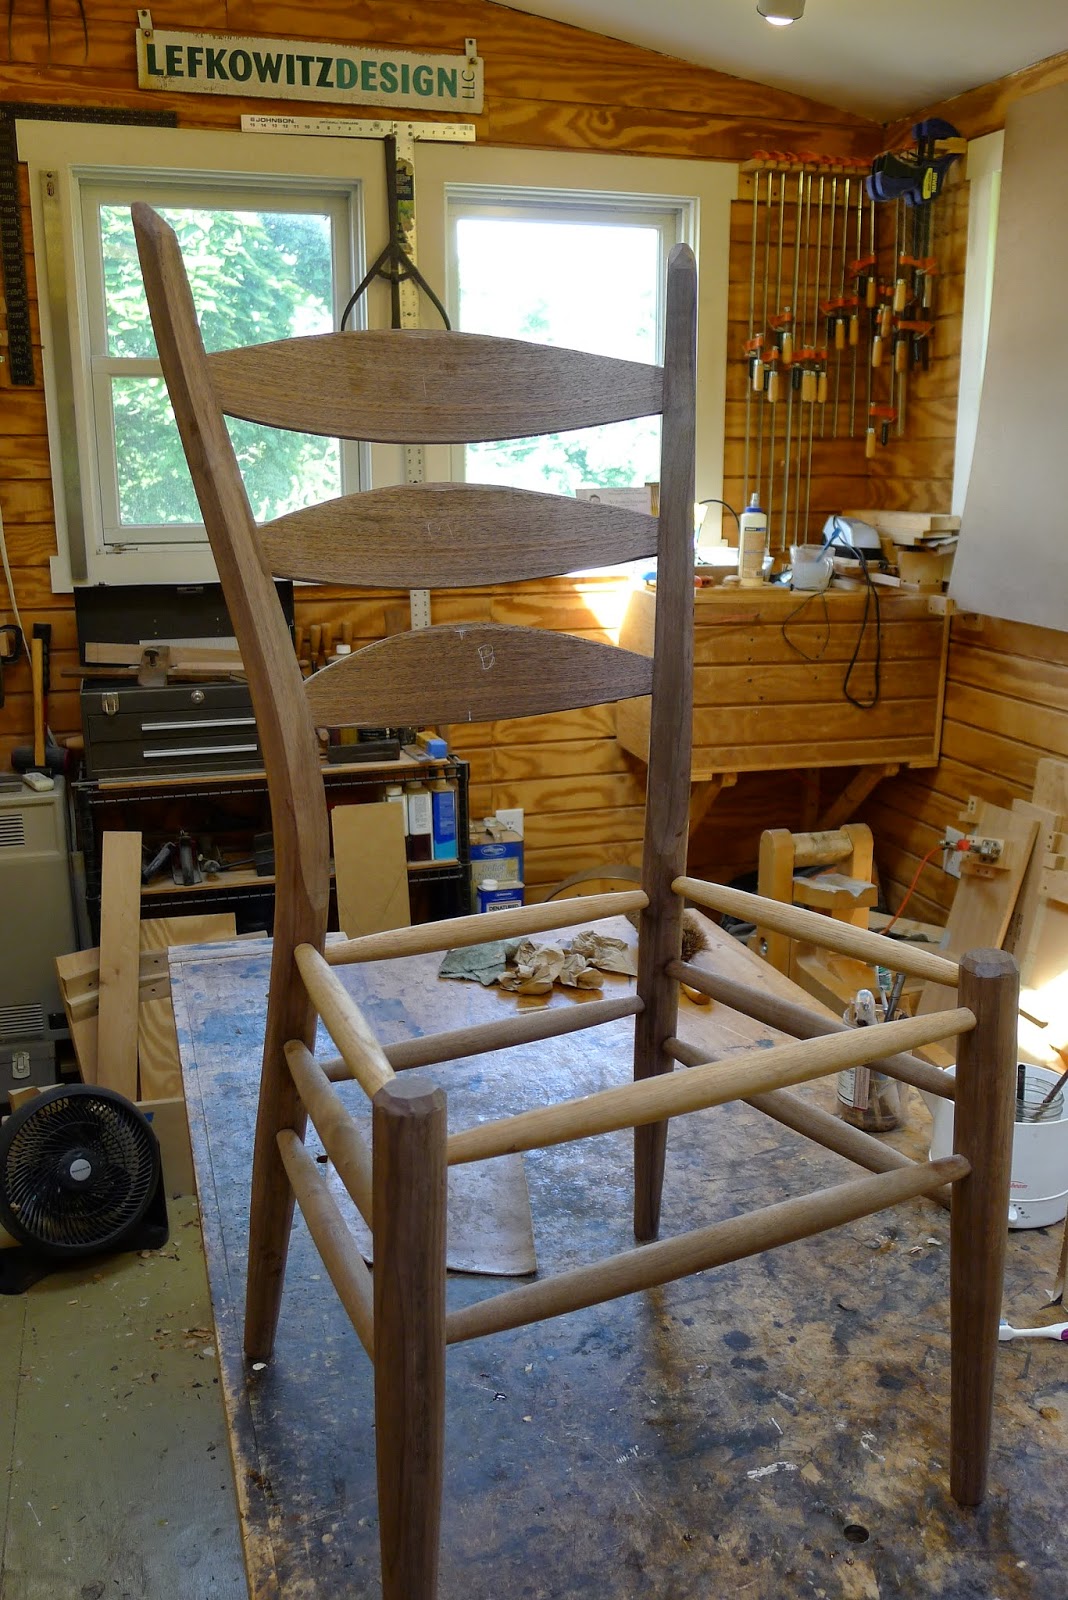
Tony's Walnut chair. Beautiful.
Next was the back panel, with it's 3 slats and 2 rungs. Seemless. Then the jig was finally used to assemble both front and back panels together, again without issue and in a very controlled manner. A quick check of the chair on the flat surface of the table saw revealed a perfectly stable chair, with no wracking. Next post the finishing touches and Hickory bark seat.
My Cherry chair, strapped in ready for the flight home.


Great Stuff, Glen. I hope you visited Curtis when you were here.
ReplyDeleteBill Palmer
Hi Bill, yep I sure did…. next post!
ReplyDeleteCheers
Glen